Since I had so much work for other classes this week, my main focus when brainstorming what to make five of was “keep it simple, quick, and easy.”
I actually believed I would do that… for about 3 minutes.
Fuck Pintrest.
Now, I know what you’re thinking: “You made five of those?!”
No, I’m not stupid. I made three.
Well, started to make three… Since I couldn’t get started until the day before class, I didn’t have time to deal with the inevitable breakdown of my plans. So the joining, evening out, painting, and lacquering will have to come later. But here’s as far as I got, which was honestly farther than I expected with four hours:
The first thing I did when I saw the pintrest pics was to try and wrap my head around how the hell I could reproduce it. I looked at the images and try to deduce the ratios the layers were based off of and saw that the width of each layer was half the width of the center cube, and the center cube was 2/3 the length of the 2nd layer. From that I got the equation L = W + H, which was confirmed when I did my first prototype with index cards — since the cards were so thin the sides ended up being squares.
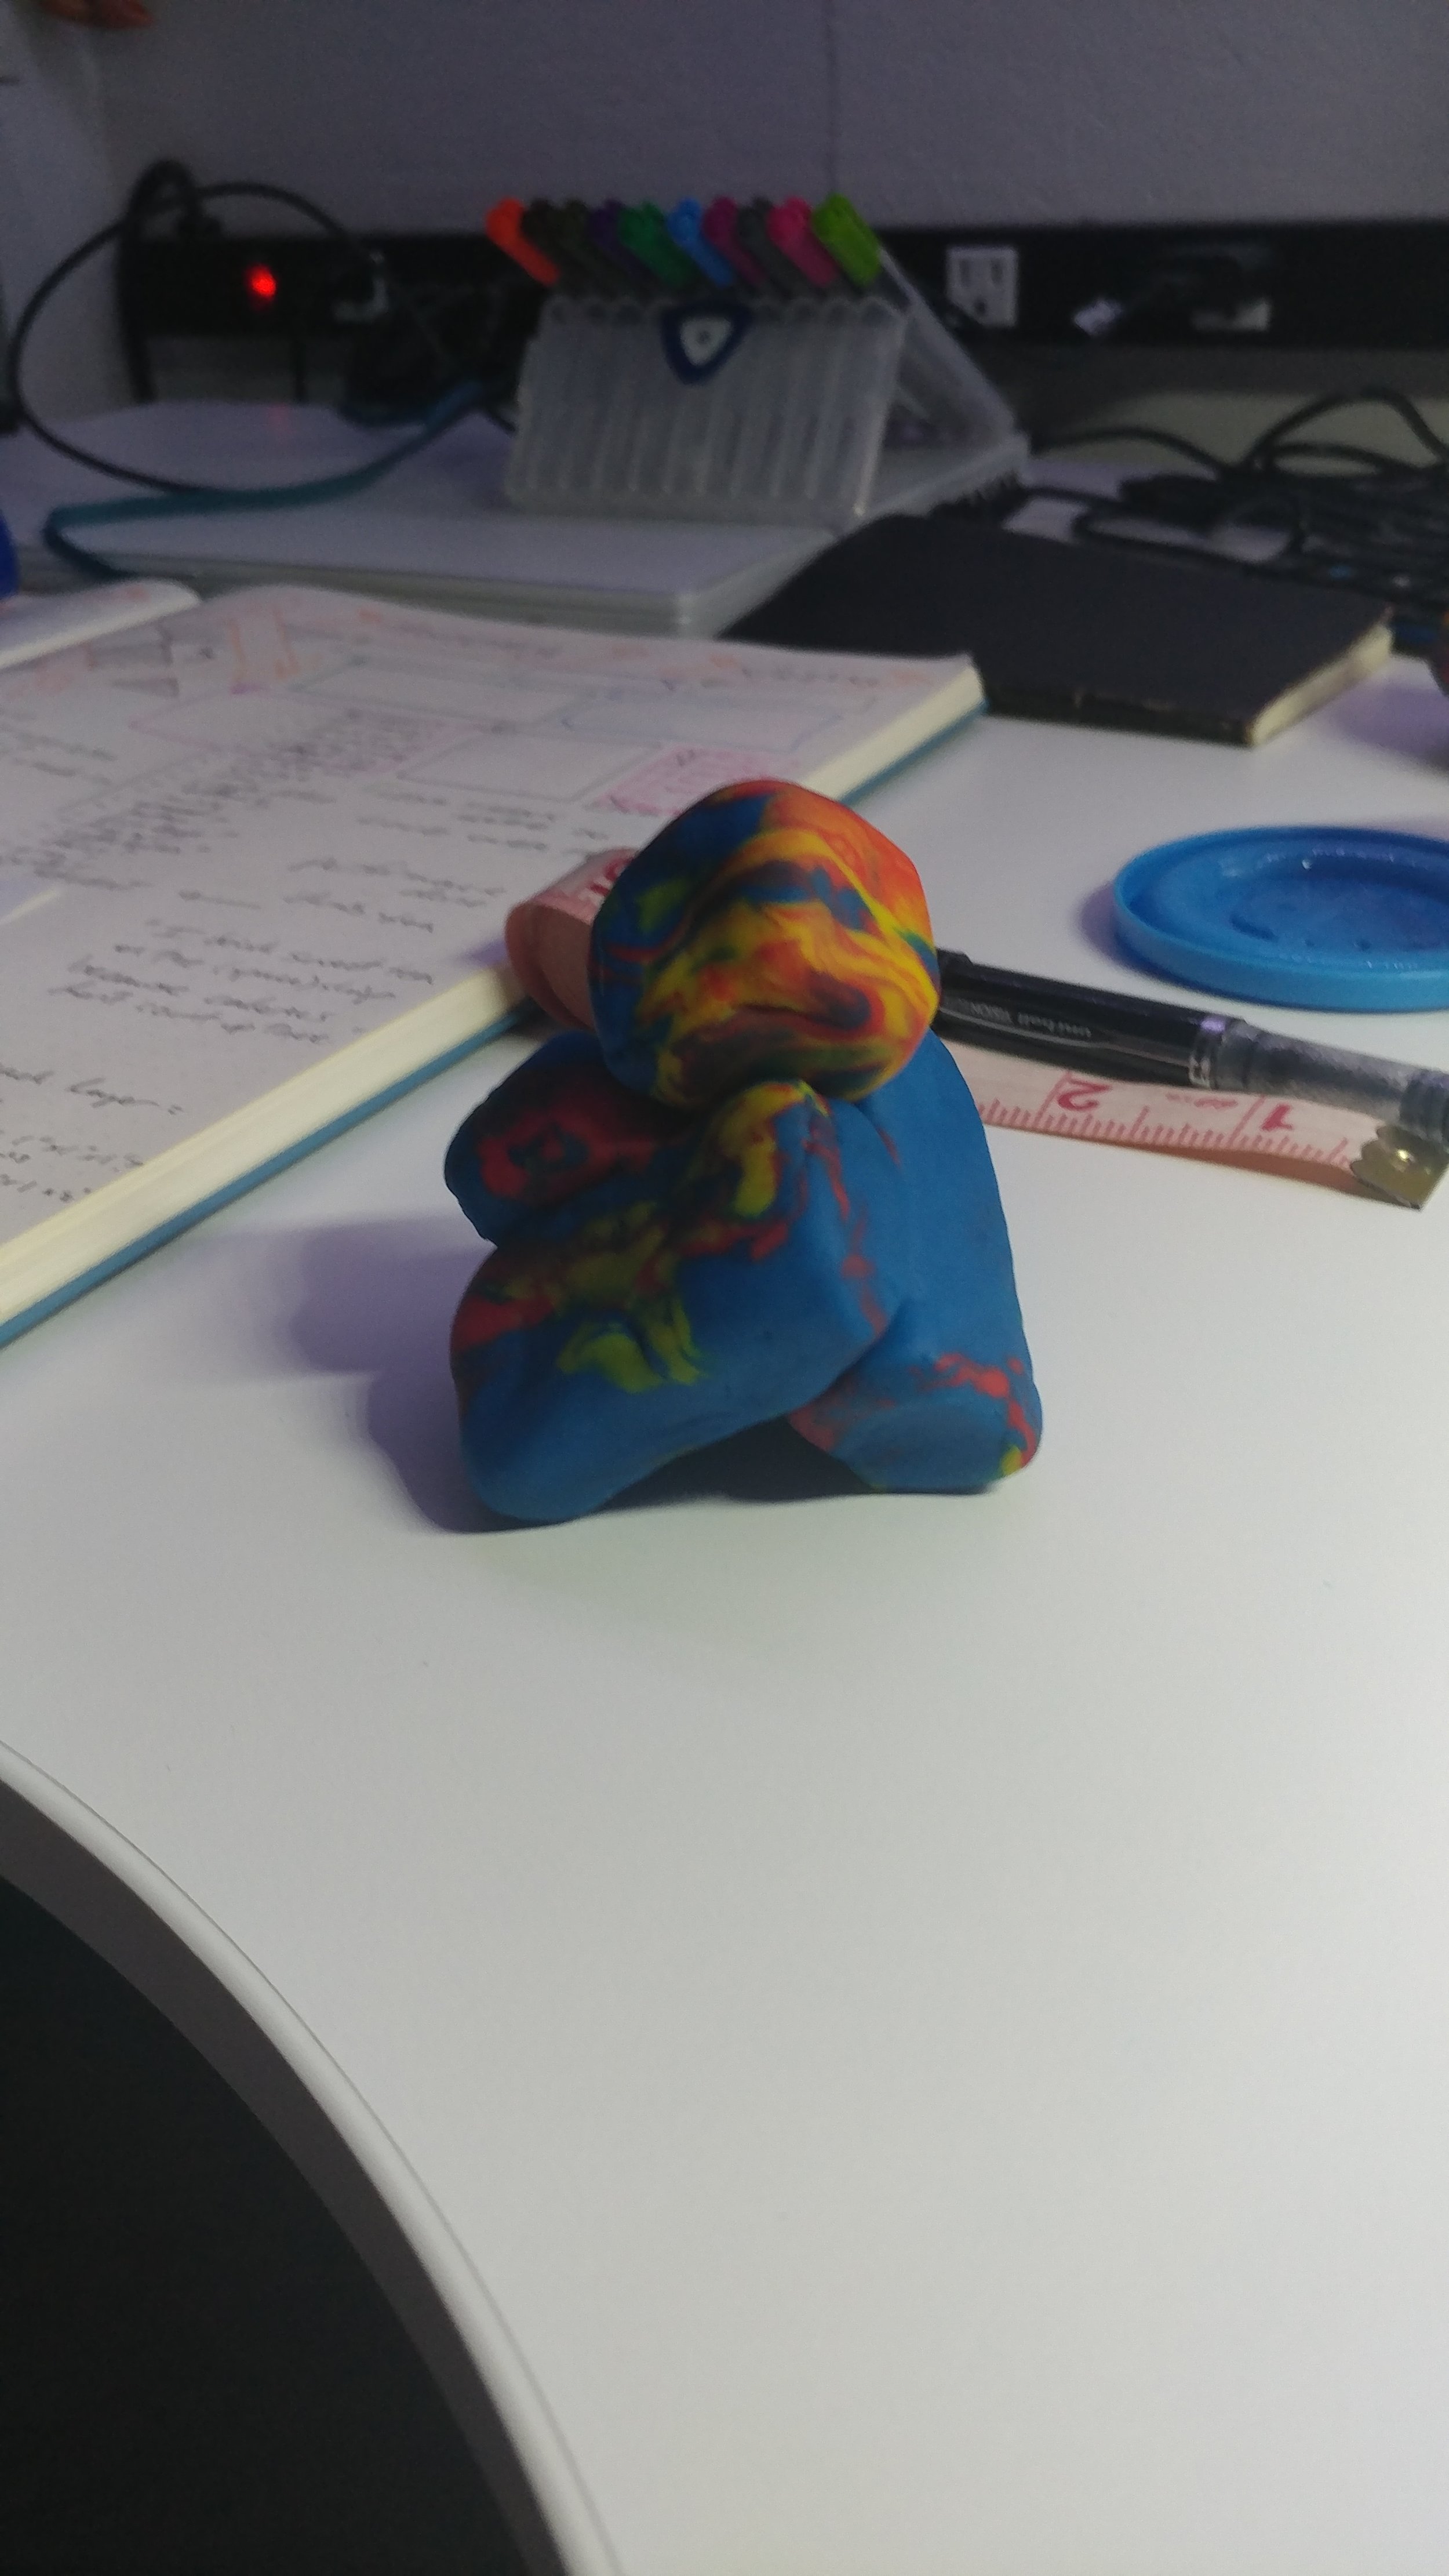
Then with Play Dough, I did another prototype, and it got me really excited about the project: If just one cube and one layer was so fun, how much better would three cubes and 27 layers be ?!
I wrote down my estimated measurements for each layer and then tried to map out how much wood I would need to buy by drawing out each board and taking a cookie cutter to them. I gave myself at least a 1/2” between blocks since I couldn’t remember how wide the saws in the shop were, and then figured I’d get an extra board to be safe. Proud to say my estimates were almost exactly on, and I didn’t need either extra board. Also planned out each stage of the build to save time the next day, but figured I’d need to adjust a little on the fly too.
In the morning, went out to buy the wood and had looked up and planned to use poplar boards, but upon feeling the poplar, was a little nervous that the material wasn’t that great. So I ended up getting oak boards instead, but damn, they were pricey. Coming back from Home Depot in the pouring rain, the wood got wet and I was stressed that I had just ruined an expensive set of wood. But it turned out to be fine, just smelled weird.
I took the lengths to the panel saw first, and cut some thin slices off using clamps. Forgot I meant to use a stop block since a lot of the measurements were the same, but remembered to by the time I got to the miter, so that was good.
The miter saw was where I spent most of the time, and I wrote the lengths I had to cut on my arm so I wouldn’t have to double check my notes. I’m really excited about the stop block system, because I’m used to pre-measuring and marking all my cuts before hand (trying to estimate the amount of loss from the cut never works though). So I felt really great about how close all the cuts ended up being to each other. Had some scary moments with pieces flying off the saw though, so definitely a learning experience about how to use that machine safely.
Once the rectangles and center cubes were cut, I clamped each layer down and took them to the belt sander to even them out a bit. I had planned to even out the whole cube as a unit once assembled, so this was mainly just to get major imperfections out and get all the pokey bits off. Only had one layer get away from me and one corner got a little too worn down, but nothing too bad.
Then I did a test assemble to make sure the concept had succeeded, and it had! Already looked really cool, was excited to get it smooth and painted.
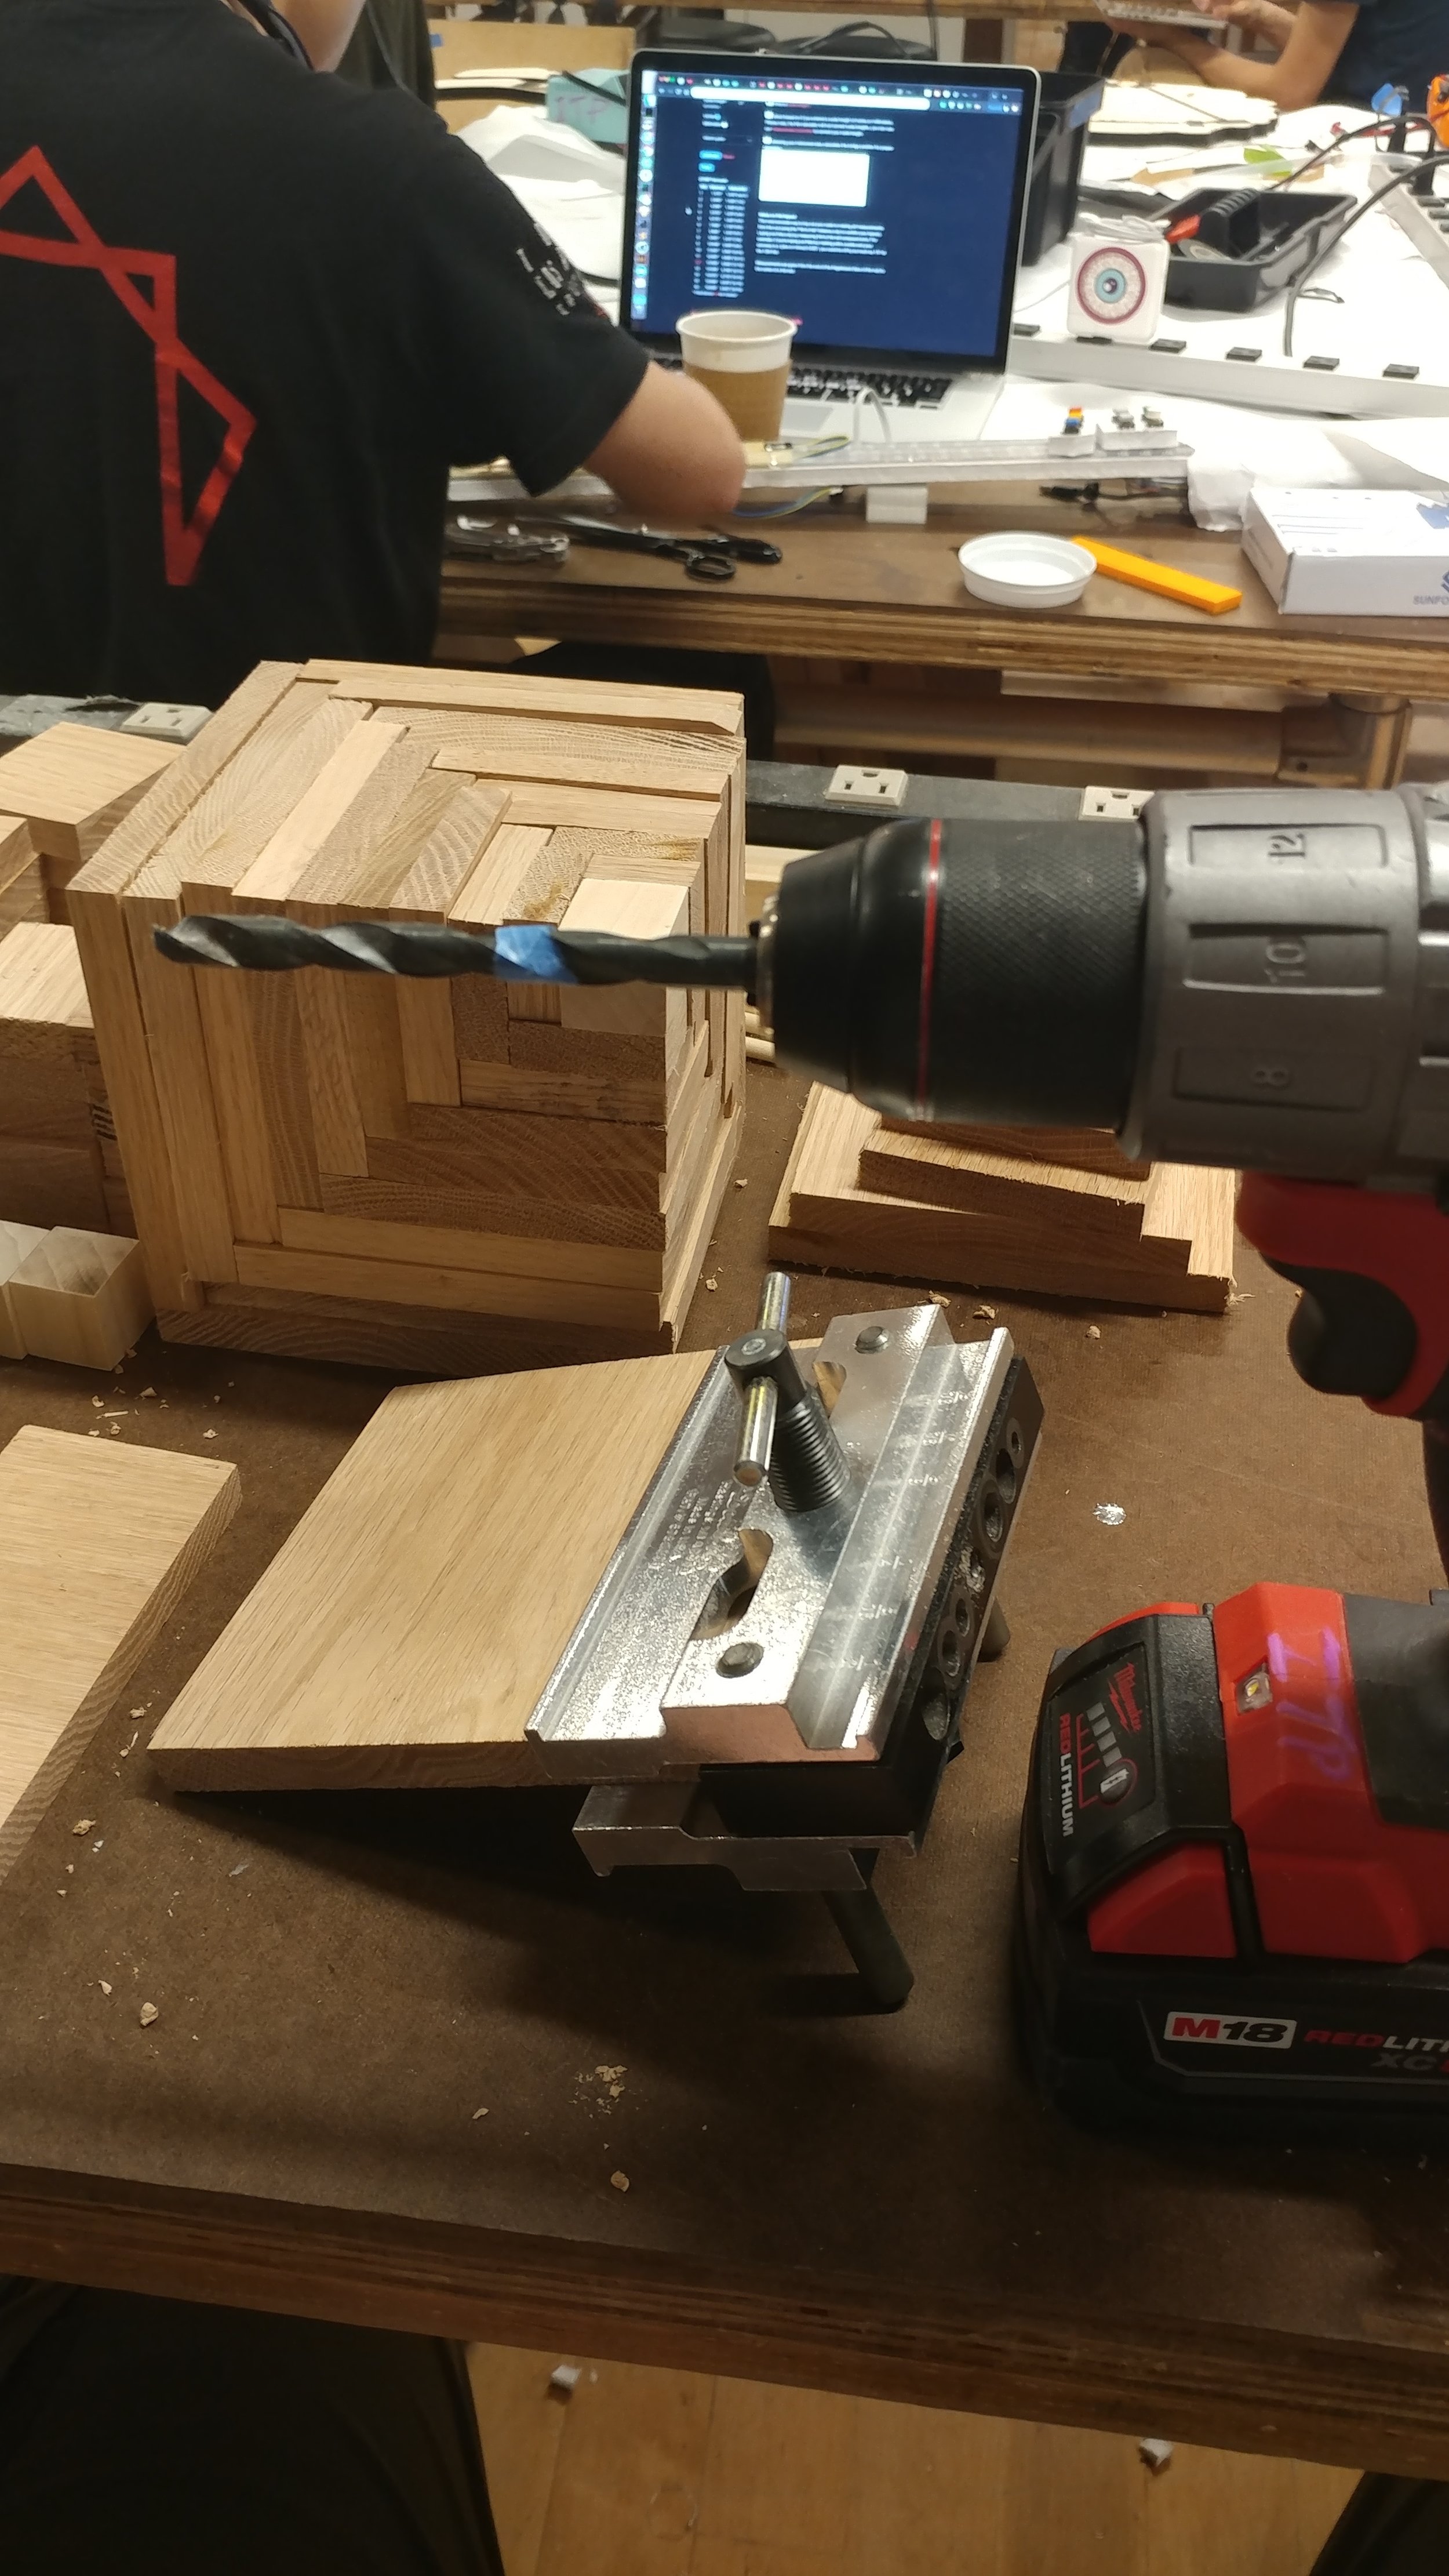
Then I began the long anticipated journey of drilling holes into each panel, so that I could put dowel pins in the bottom and side of each rectangle. Home Depot didn’t have a bulk bag of dowel pins, so I thought I could just get some 1/4” dowels and cut them to size. I used the bandsaw to cut a bunch of them at once, and I ended up cutting exactly 100 pins (I get really excited when estimations are correct…). Then I went and got the doweling jig and put the holes at 1” and 3” out from the side to account for the edge that needed to sit up against the other rectangle. I put them on the wrong side at first, so that was annoying, but I was using a scrap block as a measuring jig (is that a thing?) so it was super quick and painless to redo. Then I did a test of the drill press; I planned on using a jig to drill all the left holes at once and then move the jig to do all the right holes, but for this one I just made some measurements and did it by sight. Then, using the pins I had cut, I tried assembling a test layer. Since I got 1/4” dowels, I figured I could squeeze them into a 1/4” drilled hole, but that was wrong. So I had to move up to a 5/16” bit, but then the pins were way too small and they were practically useless. That’s when everything fell apart (literally). I realized I either needed to find some dowel pins online that could work (1/4” by 3/4” ideally, but I couldn’t find any of those on amazon…), or figure out another sturdy way of joining these layers… Either way, I wouldn’t have time to get the pins and have everything dried by the time of class tomorrow morning, so I resigned to give up and try again next week.
Frustrating, but still really excited about these cubes. Now just wondering if I could have done all this on the laser cutter….


