On this week of “August Bites Off More Than He Can Chew”:
I’m applying for a Burning Man Honorarium grant soon, for an installation I’ve been working on all year, Corpus Phallosum. I have some 3D model renders for the proposal, but the actual designs of the model aren’t transferable to a physical blueprint, the struts are all random lengths:

Is it a brain? Is it a butt? Nobody knows.
I don’t know enough about CAD or other engineering software to know how to design this same structure, but only use 3-5 different strut lengths. So I figured the best way to do that would be to try and play around with something physically until I came up with a new design.
I decided on arbitrary lengths (4”, 3.5”, 2.5”) since those ratios are similar to the ratios of the strut lengths of the first dome I made, and started by using popsicle sticks and play dough to see if my idea would even work theoretically:


Then I decided to try and cut some struts out of the free cardboard in the shop. Figured 1/4” wide was enough, but didn’t take into consideration how the corrugated filling would affect the sturdiness of the material. The first test proved that I would have to find another material, but I was able to demonstrate the core concept:


So I asked Ben for advice on what kind of material would be cheap, relatively load-bearing, and still flexible enough to allow for bending at the vertices. He suggested mat board or thin cardboard (like what post office boxes are made from). I went for the free option, and found a place across the street from my apartment that was happy to give me some free USPS boxes!

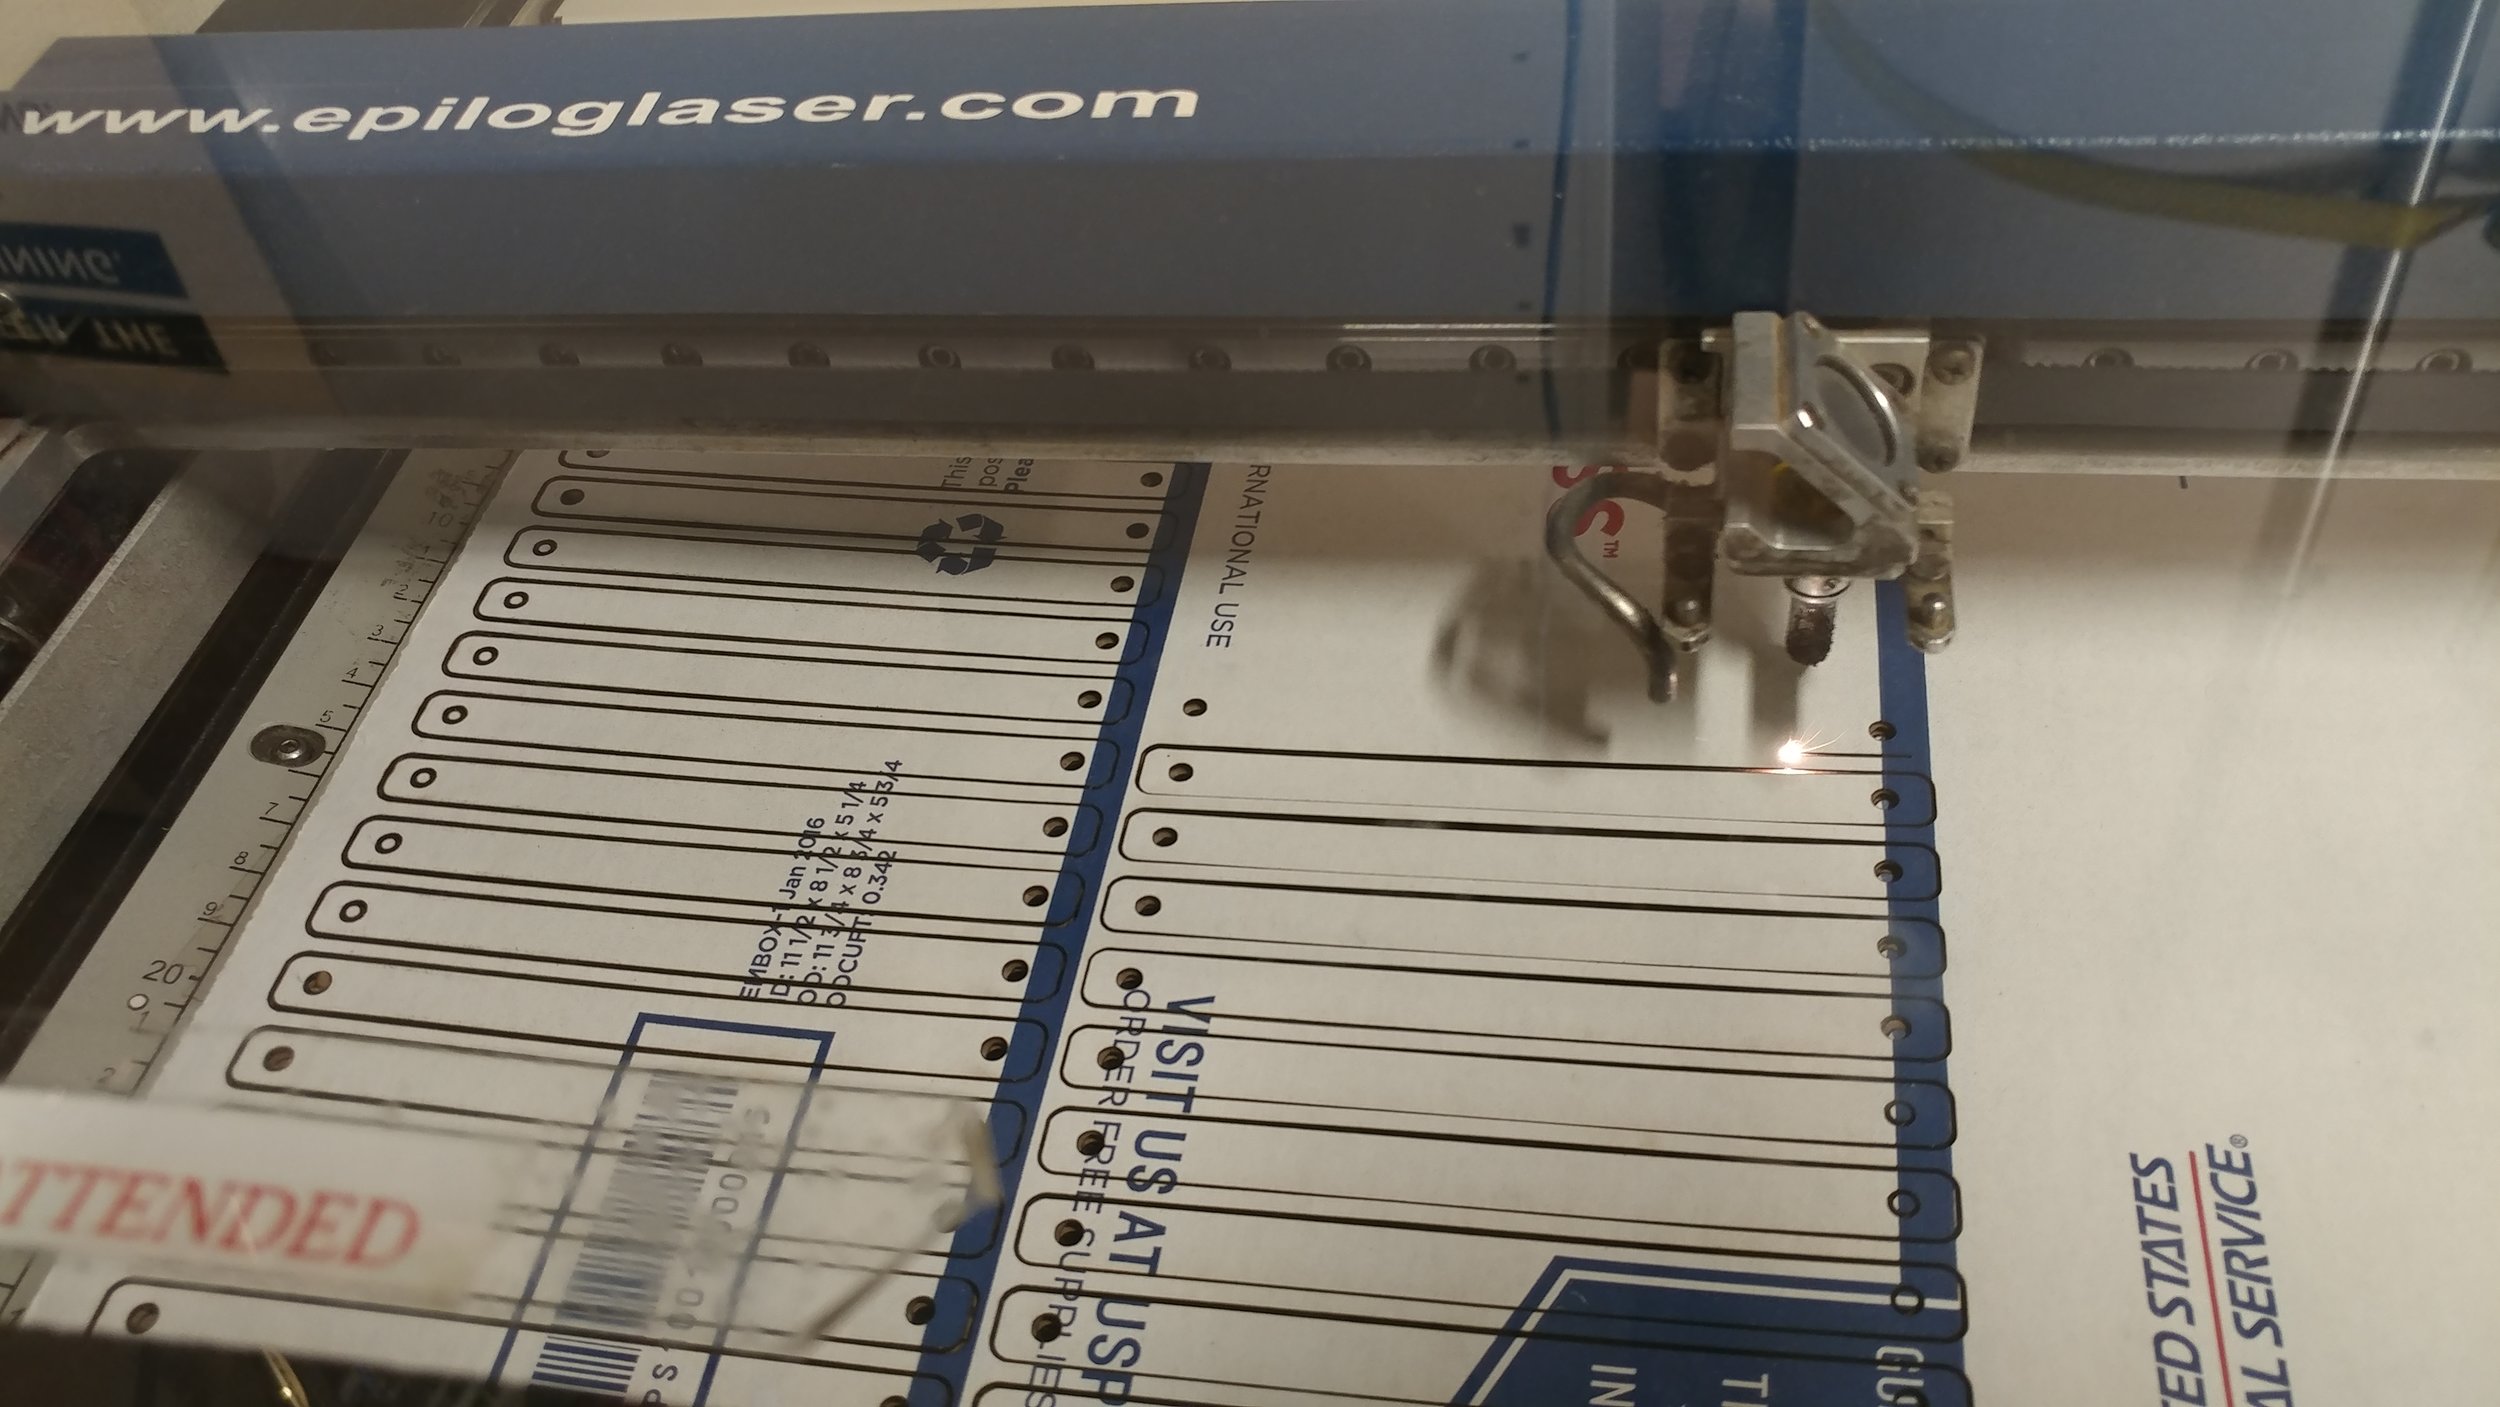
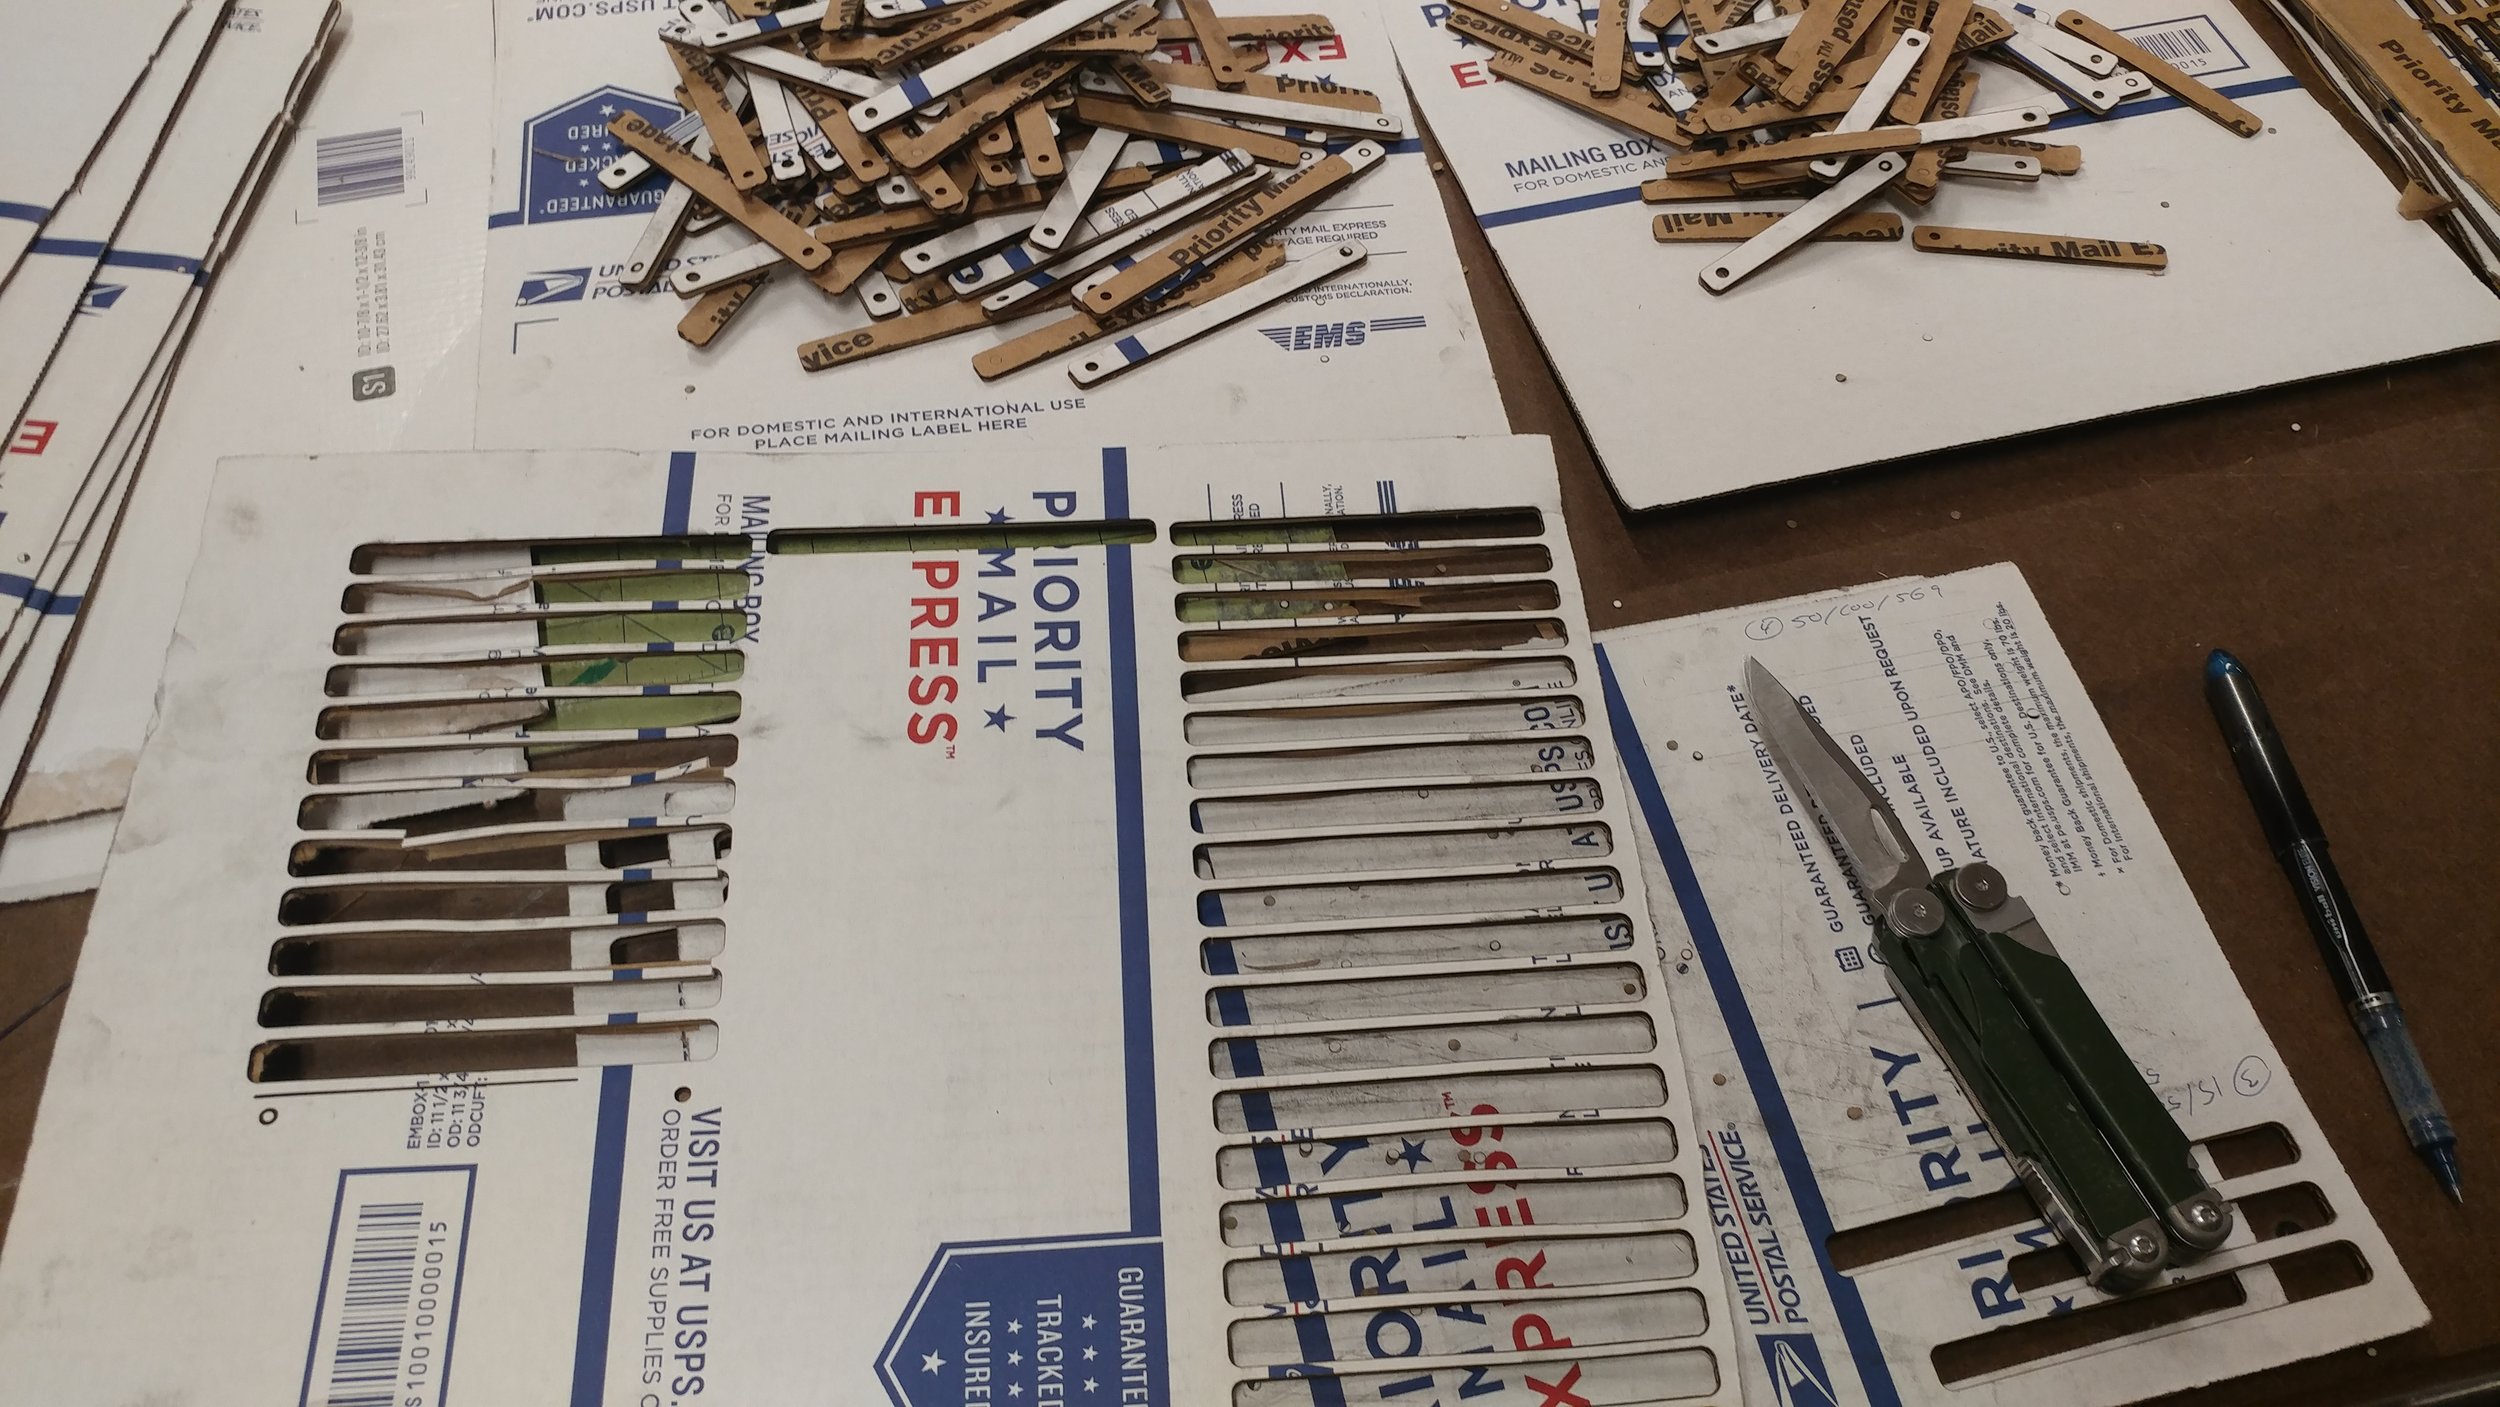
These proved to be exactly what I needed. After cutting them to size, I did some tests with the laser, adjusting the settings to what the manual suggested for mat board (50, 50, 500). That wasn’t quite enough, and I ended up with (15, 50, 569). That just took forever though, so I decided to test (40, 100, 569), and after some trial and error, ended up at (30, 100, 569) which was quick enough to get all the struts cut, but I still had to use my pocket knife to cut some pieces out. If I had unlimited time I would’ve just ran it slower, but I had an hour reserved on the 50W, and luckily no one came after that and I was able to use it another 30 mins. I couldn’t afford to spend longer than that there though. The machine also randomly stopped part way though, and the whole shop staff was stumped at why it wasn’t working. After a few resets, we fiddled with the contacts on the lid and that seemed to do the trick.
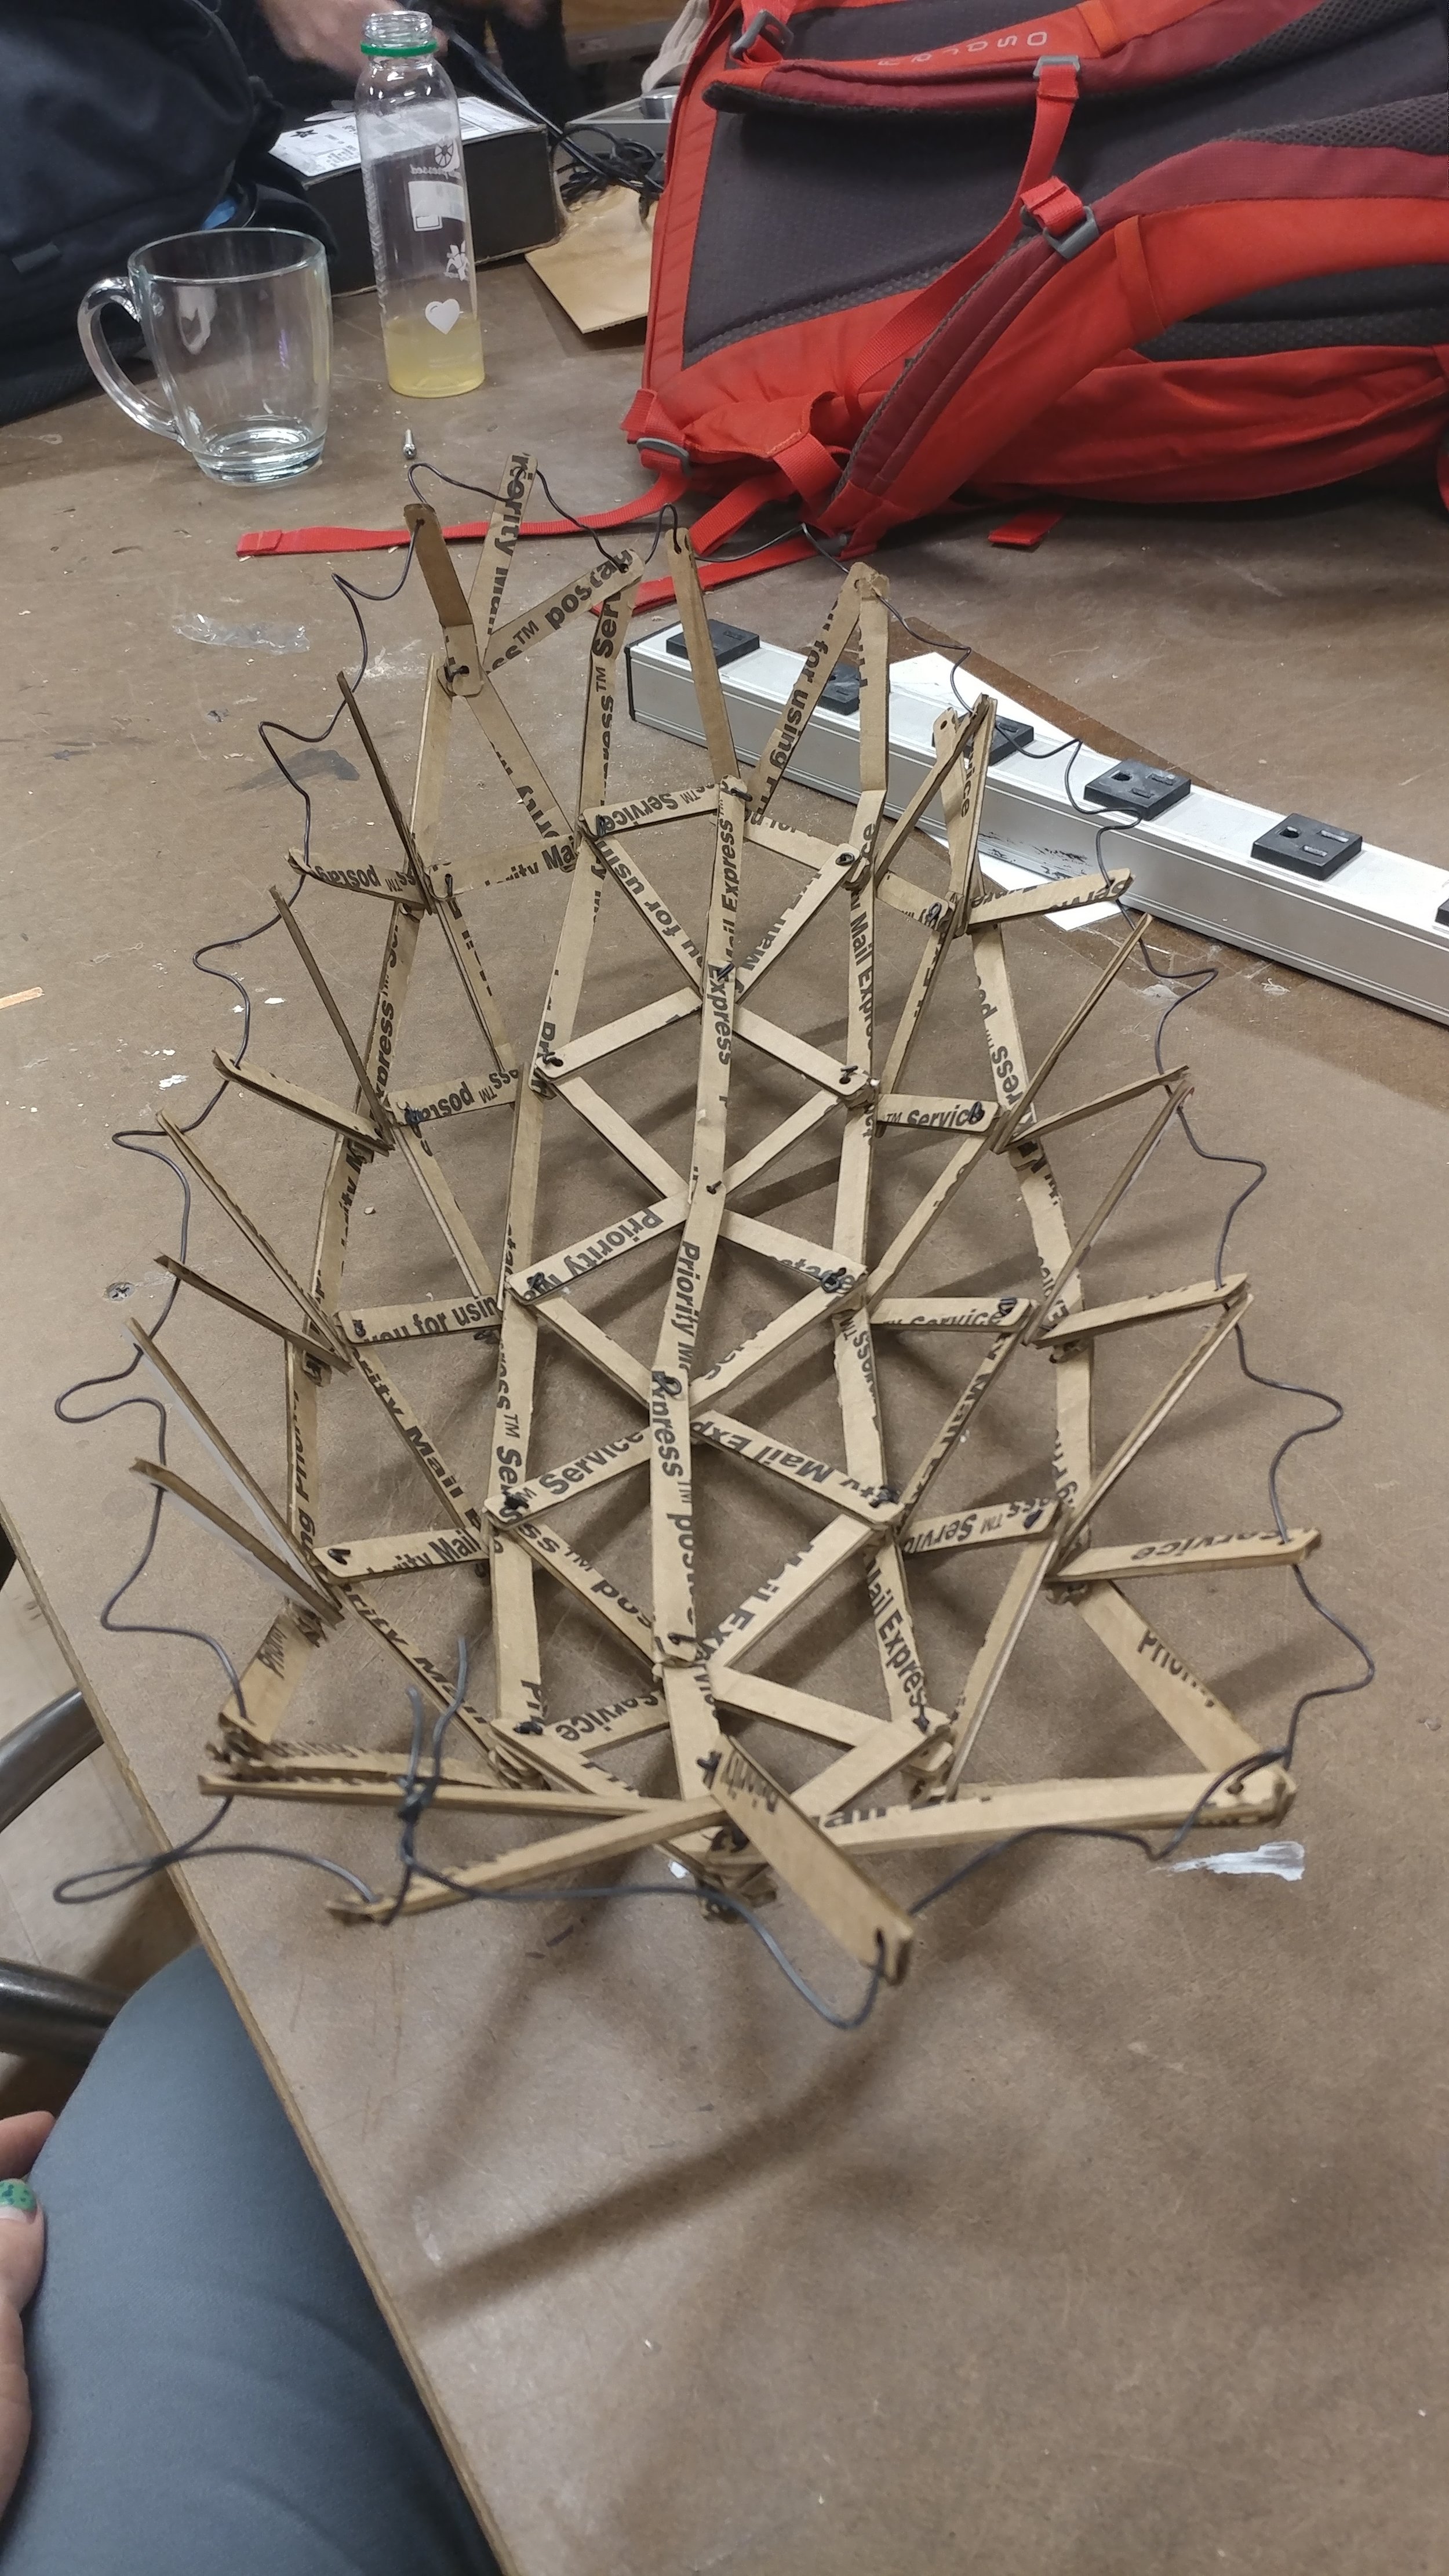
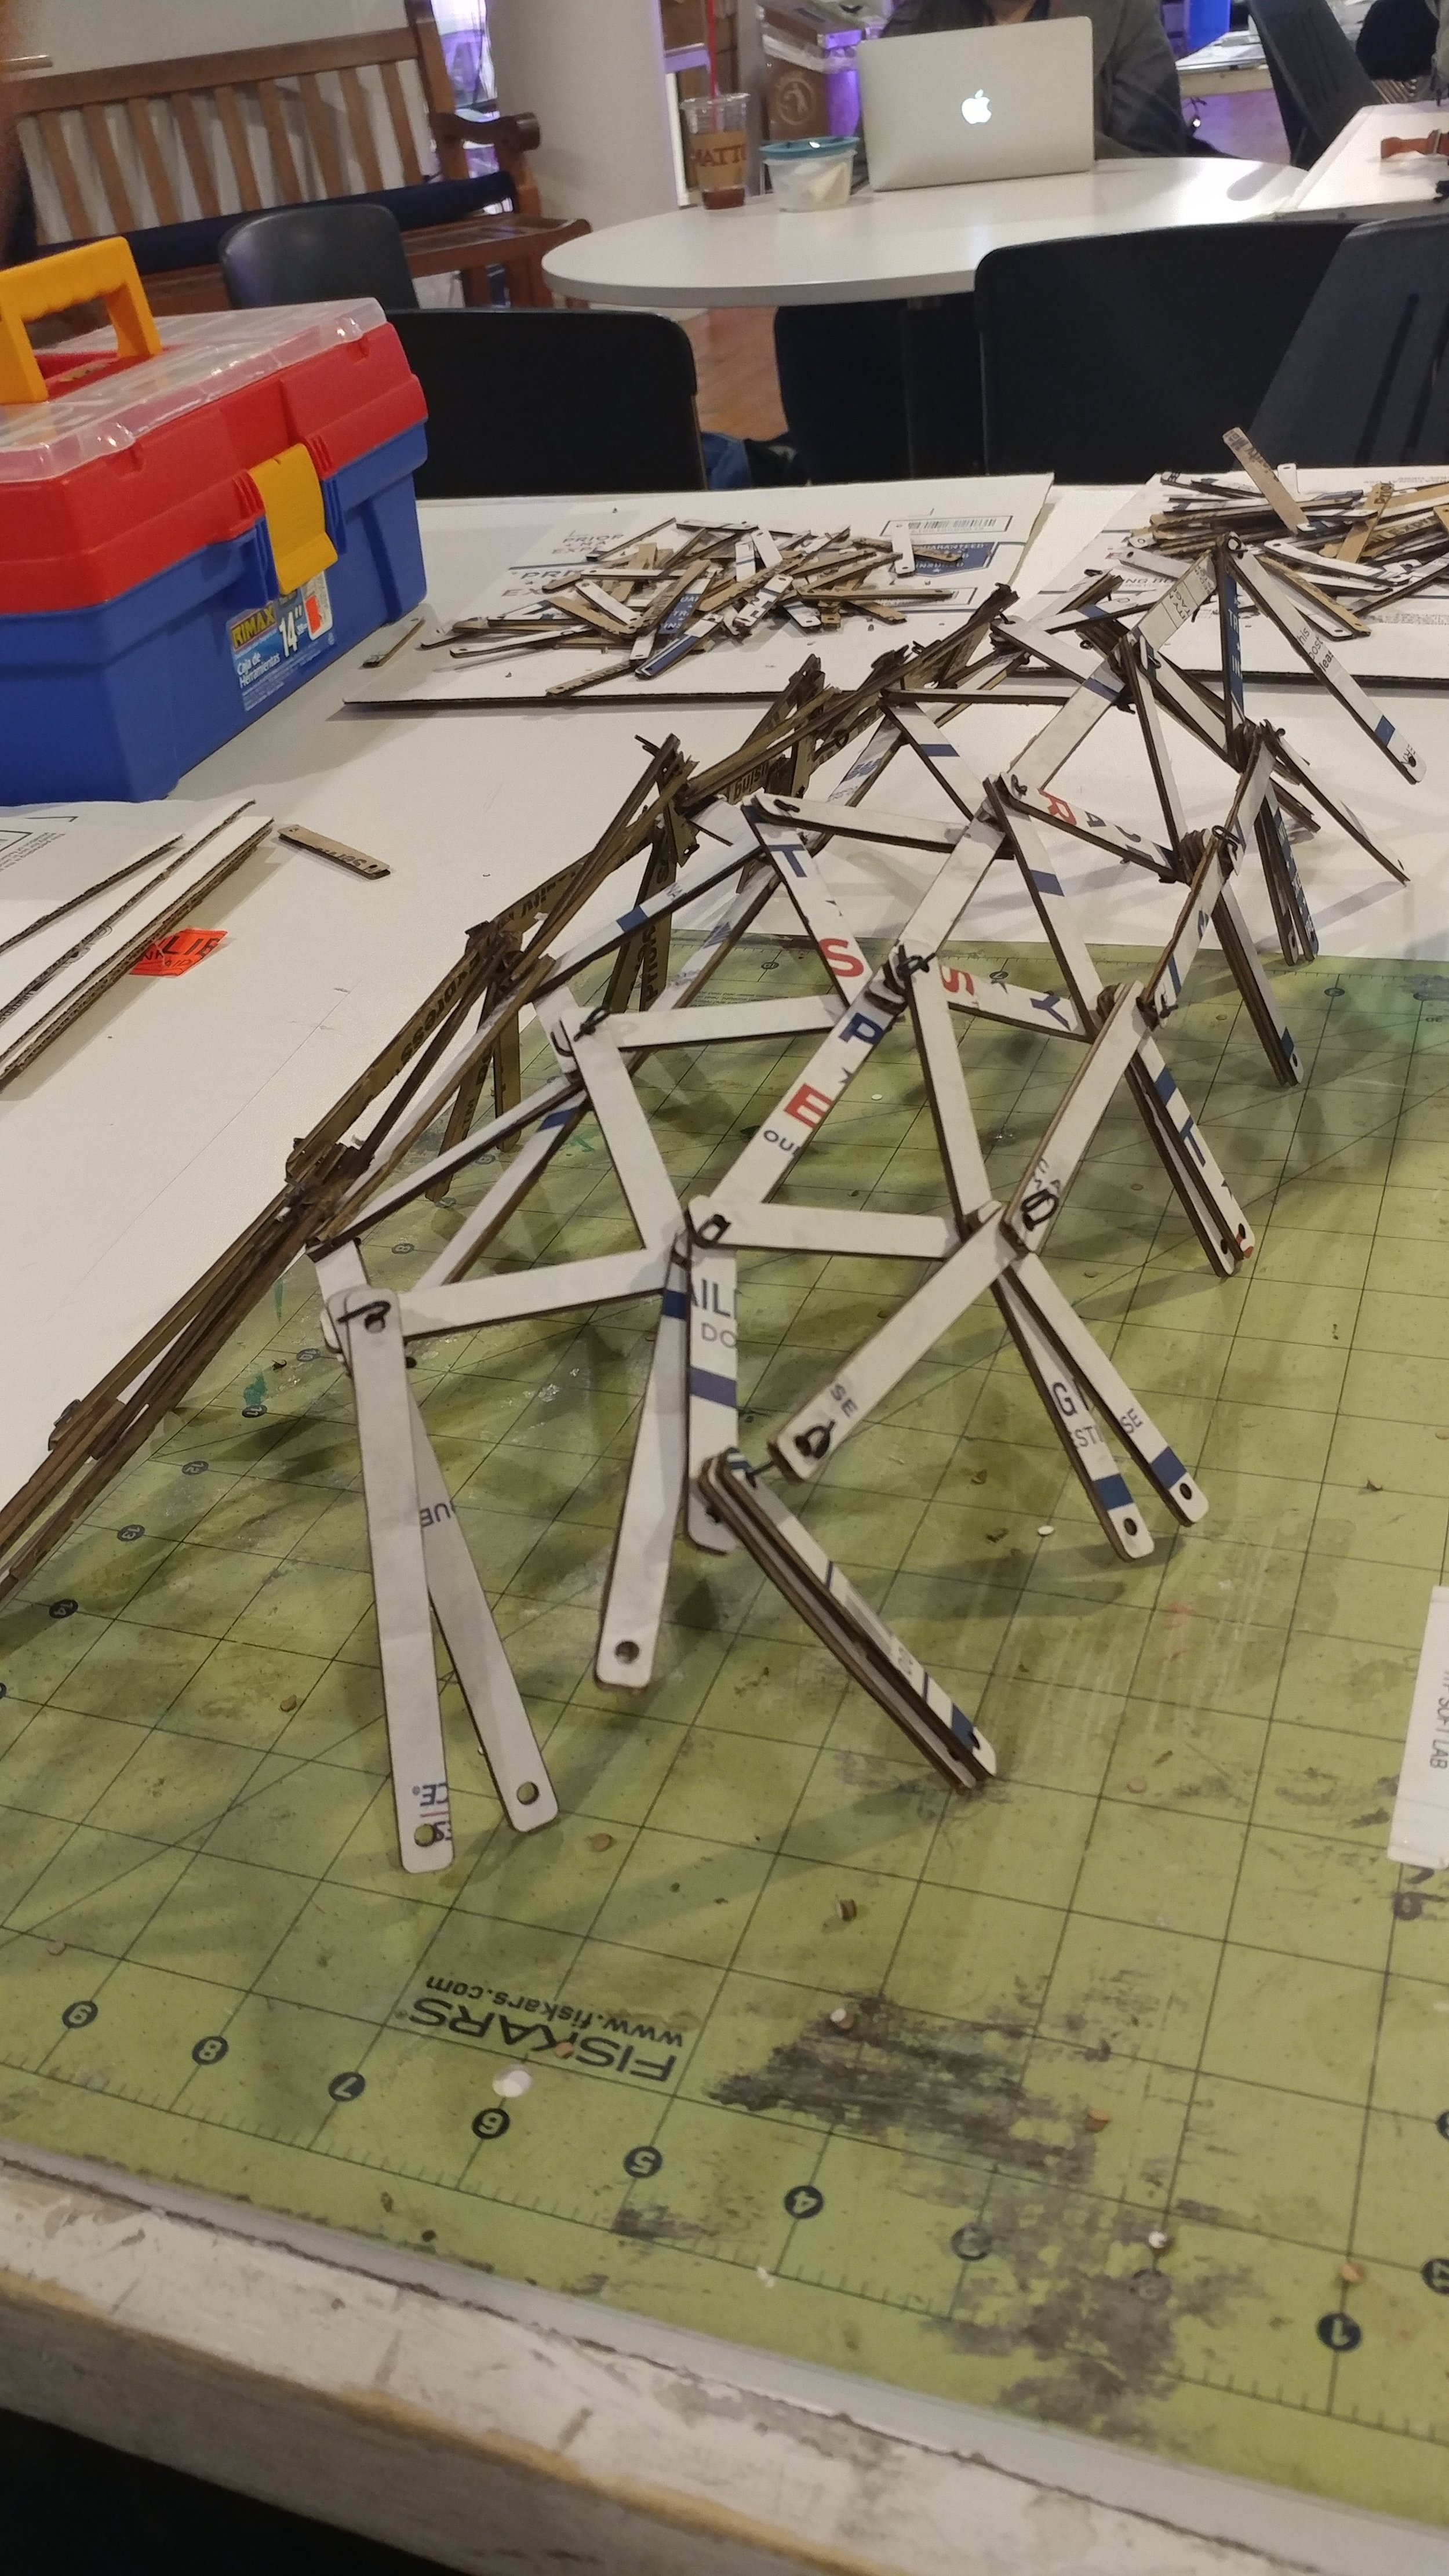
Then came the fun part. I had no idea how to start other than using the same guidelines from my other dome build: start from the top, and lay out the struts in groups based on the vertices, then bolt each layer together as you move down the dome. The only tricky thing was the brain wasn’t a sphere that I could start at the apex with, I either had to start with the two highest ridges, or start with the corpus callosum and build up and out. I opted for the corpus callosum, since I figured starting with the middle would be better. I had an intuition of how the triangles should be arranged based on my previous 3D model, but I was pretty much flying blind and just sort of guessing as I went. I figure that since I have different sizes, I’ll be able to make the shape somehow… It may not be the most geometrically astute design, but I just need it to work. I also realized my idea for basic bolts (wire wrapped around the vertices) wouldn’t work as initially intended, and I had to basically try and turn wire into a nut/bolt combo — a single axis that wouldn’t allow either end to escape.


Once I had built out from the corpus callosum enough to feel like I was at the top of the two ridges and ready to start building down, I figured I could do what I do with my metal dome, and just prop up the bottom layer of struts to start the next layer. However, this is not burning man, and whereas metal pipes with sharp ends will dig into the desert floor very nicely, smooth cardboard does not have the same relationship with a cutting mat or desk top. So the propping up plan wouldn’t work as intended, and I didn’t think going through the trouble of making a little perimeter for the ends to butt up against would be worth the time. I figured I might be able to just continue building out on the 2D plane and then shape it later, but I really felt like I needed the visual feedback to know where to continue shaping the triangles. So I ended up stopping early, not really sure where to go from here. I’m not sure whether it would be a better use of time to continue with this physical process, or just try and find a way to play around with the same concept digitally. I had an idea for a p5.js 3D sketch with struts you could move around and stick together, but after running through the design in my head, I realized I was trying to make CAD software from scratch… so scratch that.


So the final iteration of this project was just to try and make a bottom layer that would hold a shape in place. It’s not very brain like, but it’s a cool cocoon. Cornucopia? Corpus Cardboardsum?